Maintenance mode is important for all the applications on the internet. It does not matter whether you provide software as a service or you run an eCommerce store. Programmers all around the world will create new things that you can apply to your application to improve the functionality of our application. This is called upgrades. These upgrades, as well as regular maintenance work like backups, need some downtime.
We can enable maintenance mode whenever we want along with the custom message that your customer can read to understand why your application is not accessible. Almost all the important tasks are performed while the application is in the maintenance mode. If you are using OpenCart, You can easily enable or disable maintenance mode in your store. In this tutorial, I am going to show you how to toggle maintenance mode in OpenCart.
Enable Maintenance mode in Opencart
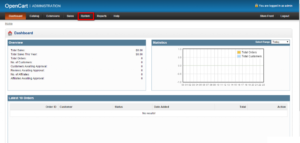
First of all, log in to the admin panel of your OpenCart store. Then, click on the System -> Settings option from the left sidebar. See the following screenshot to find the Settings option.
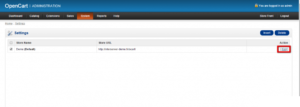
On this page, you will see a list of stores available in your OpenCart. Click on the Edit button corresponding to the store you want to put in the maintenance mode. The edit button does not have any label, so click on the Edit icon to edit that store.
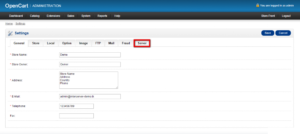
On this page, you will see many tabs to manage different parts of your application. To enable the maintenance mode, navigate to the Server option as highlighted in the following screenshot.
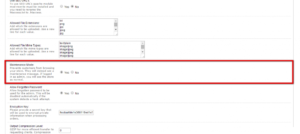
On this page, you will find a lot of options. You can update them as per your requirements. In these options, find radio buttons with the label Maintenance mode and click on the Yes.
After updating the server settings, click on the Save button given at the top-right corner of the page.


