Tags allow you to loosely categorize your products or content into different types. While the categories are managed strictly, Tags are mostly used to connect a product with multiple entities at once. For example, If you are selling a computer, you can use tags like “Computers”, “Dell”, “Intel” and “Gaming”. But your category should be Computers->Gaming->Dell.
So, that’s the idea behind tags. Almost all the content management systems allow us to manage tags and tag a piece of content with multiple tags. Tags are very useful and might help your potential customers in looking for the product they want.
In this tutorial, I will show you how to manage tags in Prestashop. We will also see how to attach Products with a specific tag while the tag is being created. So, Let’s get started with the tutorial.
ADD TAGS IN PRESTASHOP
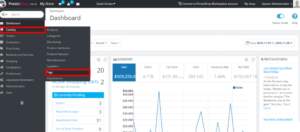
First of all, Log in to the admin panel of your Prestashop store. Then, click on the Catalog -> Tags option given in the left sidebar of the admin panel.
On this page, you will see a list of tags available in your store. If you want to create a new tag, click on the Add new tag option from the top-right corner of the page. See the following screenshot for reference.
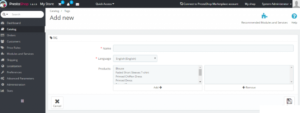
Now, Enter the tag details like Name of the tag and Language. The last option is useful if you want to connect your existing products with a new tag we are creating.
To attach an existing product to tag, click on the product and then click on the Add -> button given at the bottom of the products list.
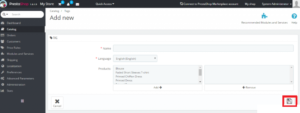
After filling up all the information, click on the Save button to apply the changes, and save the tag.
Now, Under the tags section, you will be able to see the list of tags just like the following screenshot.
And, To edit a specific tag, click on the Edit button corresponding to the tag you want to edit.


