osCommerce is not updated since a very long time, If you are using osCommerce right now, we recommend you to move on to the other platform soon.
osCommerce is one of the most popular E-commerce store management systems. It was launched back in 2016 and it provides almost all the features you need to manage an E-commerce store. It also allows us to perform many important tasks like Managing tax rates, , Managing Currencies, and much more.
If you have an E-commerce store powered by osCommerce, you can also manage different zones. A zone is a specific area where you can operate. In this tutorial, I am going to show you how to create a new zone in osCommerce. So, Let’s get started with the tutorial.
Create New Zones in osCommerce
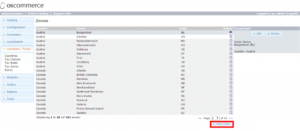
To create a new zone, first of all, log in to the admin panel of your osCommerce store. Then, click on the Locations / Taxes -> Zones option from the left sidebar of the admin panel. See the following screenshot for reference.
On this page, you will see a list of zones available on your site. These zones are different countries in which you can do business. To create a new zone, click on the New Zone button given at the bottom-right corner of the table.
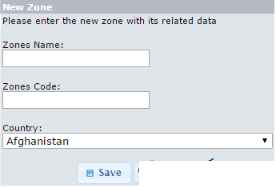
Now, Enter the details. First of all, Enter the zone name and then the zone code. After that, select the country from the drop-down menu.
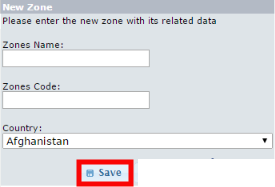
After filling up all the required information, click on the Save button given after the country dropdown.


